

A barbecue really has two useful settings: heat directly under the food, or heat pushed off to one side. Vents, marinades and timers are details. Understand the difference between direct and indirect grilling and you stop guessing, stop charring the outside of something before the middle is anywhere near cooked, and start getting the results you actually wanted.
Both methods use the same fuel and the same barbecue. What changes is where the heat sits and whether the lid is on. Direct grilling puts food over the coals or flames, lid open or half-closed. Indirect grilling puts food beside the heat and closes the lid, so the barbecue behaves far more like an oven. Get the choice right and a whole chicken comes out juicy with crisp skin. Get it wrong and you have a blackened bird with a pink centre.
Direct Grilling: Fast, Hot and Full of Colour
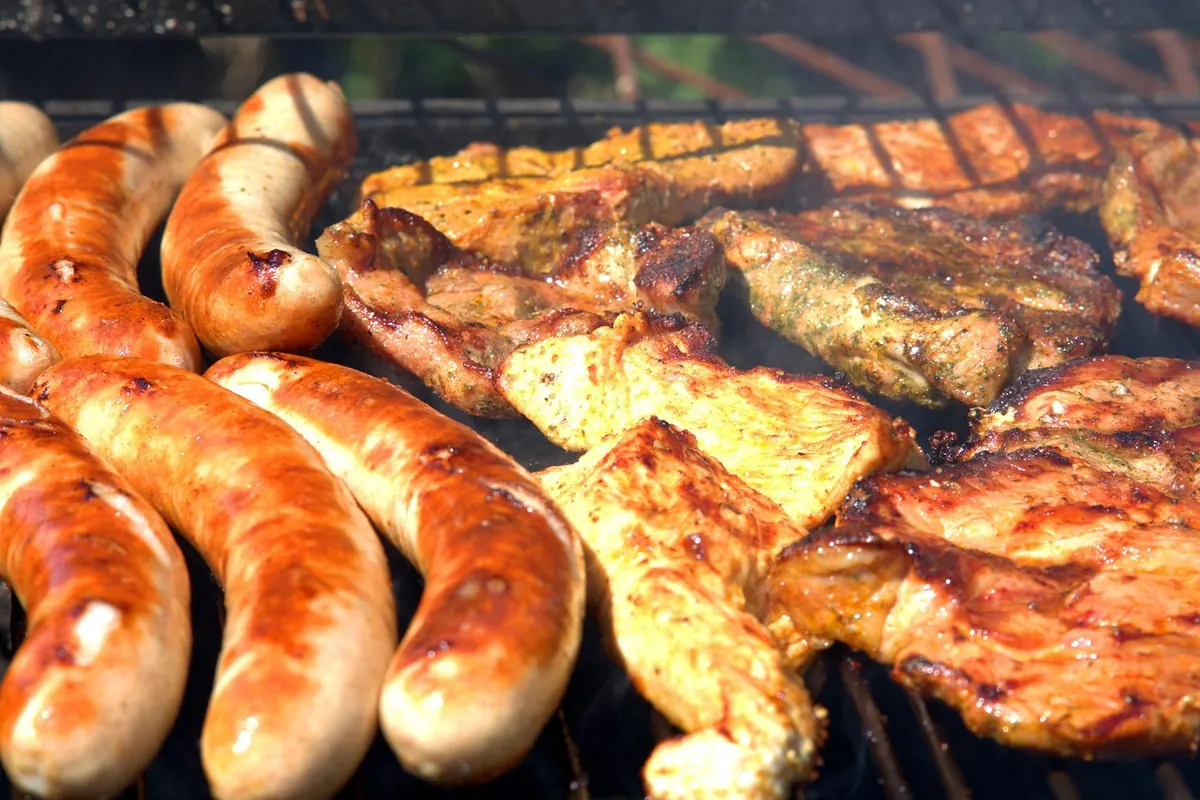
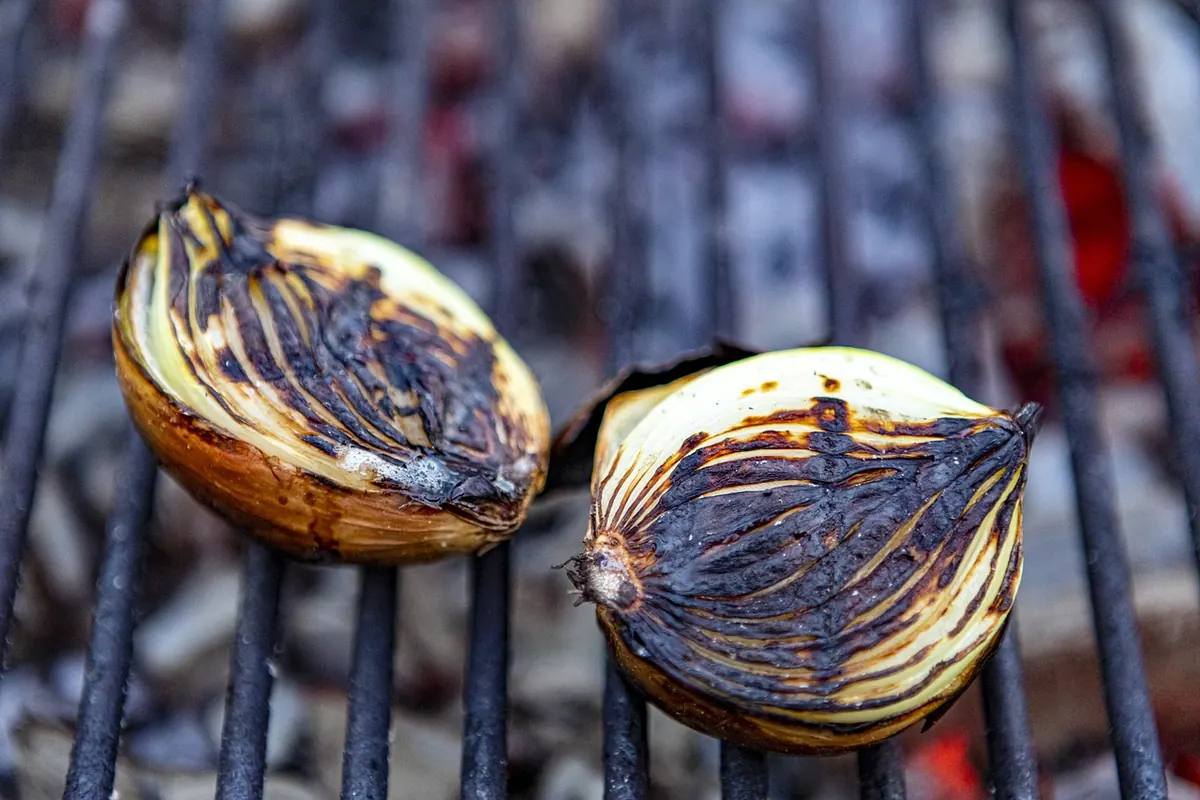
Direct heat is what most people picture when they think of a barbecue: glowing coals spread across the base, food on the grate above, tongs in hand. Temperatures are high, cooking is quick, and the surface of the food dries out enough to brown properly. That browning — the crust on a steak, the blistered skin on a pepper, the charred edges of a flatbread — is where a lot of the flavour lives.
Use direct heat for anything that cooks through in roughly twenty minutes or less, especially thin or tender cuts. Turn with tongs rather than a fork so you are not puncturing the meat and losing juices, and resist the urge to press burgers flat. Direct heat is impatient: a minute too long on a thin cutlet and it is dry.
- Steaks, chops, cutlets and escalopes
- Burgers, sausages and bacon
- Chicken thighs, wings and skewers of diced meat
- Prawns, squid and thin fish fillets
- Halloumi, thick slices of aubergine and courgette, corn on the cob
- Flatbreads, toasted buns and quick vegetable skewers
If you are cooking for a crowd, work in batches and keep finished food on a warm plate away from the coals rather than piling everything on at once. Overcrowding drops the temperature and turns a sear into a steam.
Indirect Grilling: Gentle, Even and Reliable
For indirect cooking, push the fuel to one side — or light a single gas burner — and put the food on the empty side. Close the lid. Heat now travels around the food rather than straight into it, and the barbecue settles at a moderate temperature, roughly 150–180°C. The result is closer to roasting than grilling, which is exactly what thicker food needs.
This is how you cook a whole chicken so the breast stays moist, ribs that give way without collapsing, a whole fish, a butterflied leg of lamb, or a tray of peppers softening slowly for a sauce. It also rescues anything thick enough to burn outside before it cooks inside: a large cauliflower steak, a rolled pork loin, a whole aubergine.
Three things that matter with indirect heat
- Keep the lid down. Every peek lets heat escape and adds time to the cook.
- Control the air. Use the top vent above the food and the bottom vent to hold a steady, moderate temperature rather than chasing it up and down.
- Use a digital thermometer. Cook to temperature rather than to the clock, particularly with poultry and pork. If you are unsure whether meat is safely cooked, follow official food safety guidance.
On a gas barbecue, the set-up is one burner lit and the food over the unlit side. On charcoal, bank the lit coals to one side and set a foil tray of water on the other. The water catches drips and adds a little steam, which helps keep long cooks from drying out.
Two-Zone Grilling: Both Methods at Once
Almost every useful barbecue set-up is a two-zone one: coals banked on half the grate, nothing on the other half. You now have a searing station and a gentle oven in the same kettle. Sear a steak hard on the hot side, then slide it across to finish slowly until it is as you like it. Give sausages colour over the coals, then move them aside so they cook through without splitting. Crisp chicken skin first, then let the inside catch up.
Building a two-zone fire
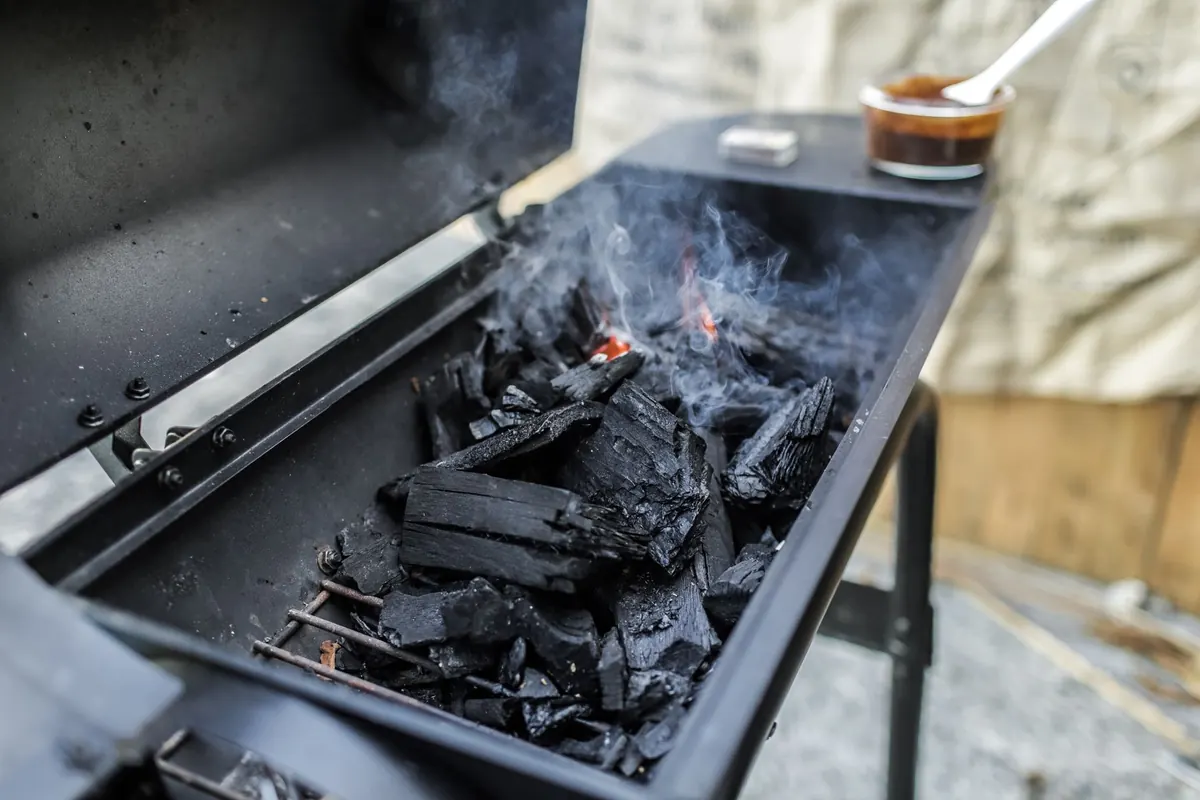
- Fill a chimney starter and light it. Wait until the coals are grey at the edges with a glow at the core.
- Tip them onto one half of the charcoal grate. Leave the other half empty.
- Add a foil tray of water to the empty side if you want a gentler, moister cook.
- Fit the cooking grate, brush it clean, oil it lightly and close the lid for five minutes to heat through.
- Start food on the hot side, then move it to the cool side to finish.
The cool side of the barbecue is not wasted space. It is the part that saves dinner.
Which Method Suits Which Food
A quick reference for the next time you are standing over a lit barbecue wondering where to put things.
- Steaks and chops: direct and hot, or two-zone for anything thicker than a couple of centimetres.
- Burgers: direct, turned once, moved aside if they are fat and browning too quickly.
- Sausages: direct for colour, then indirect so they cook right through without bursting.
- Chicken breast: indirect first, then a short spell over direct heat for colour.
- Chicken thighs and wings: indirect to cook the meat, direct at the end to crisp the skin.
- Whole or spatchcocked chicken: indirect throughout, lid down.
- Ribs: indirect and slow, with a glaze finished briefly over direct heat.
- Fish: direct for thin, firm fillets; indirect for thick fillets and whole fish.
- Prawns and squid: direct and fast — a couple of minutes each side is plenty.
- Vegetables: direct for skewers, corn and slices; indirect for whole peppers, baked potatoes and anything you want soft.
- Fruit: direct, briefly, for peaches, pineapple and plums.
When to Combine the Two
Most good barbecue cooking uses both methods in the same cook. A few patterns are worth learning by heart.
Sear and shift. Hit the hot side for colour, then move to the cool side to finish. Best for thick pork chops, chicken pieces and anything with a bone in it.
Reverse sear. Cook gently over indirect heat until nearly done, then give it a final blast of direct heat for a crust. This works beautifully on a thick ribeye or a small roast.
Glaze at the end. Cook ribs, wings or a ham indirectly, then brush with sauce over direct heat for a minute or two. Sugary glazes catch and burn quickly, so keep this stage short and stay with it.
Rest away from the heat. Once food comes off the grate, let it rest on the cool side or a board, loosely tented with foil. Wrapping tightly steams the crust you just worked for.
A Few Practical Habits
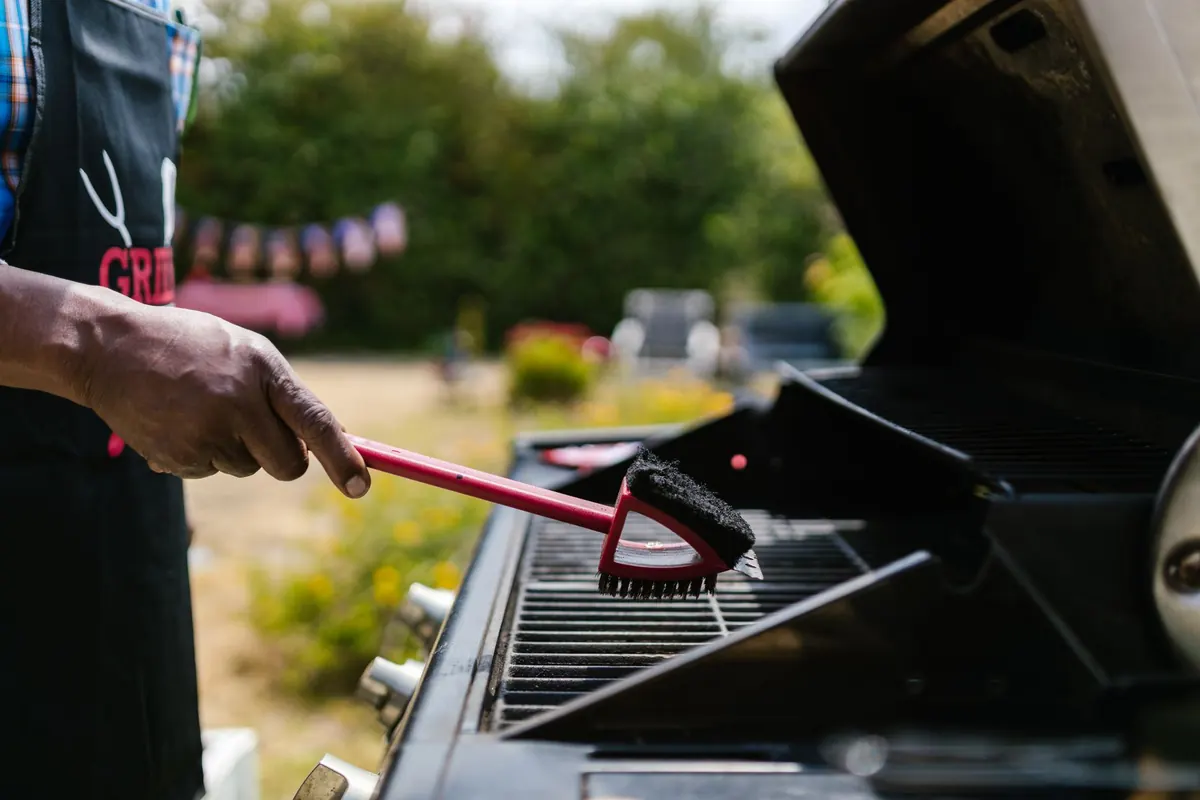
Keep a chimney starter so you are never waiting on lighter fluid. Learn where the hot spots are on your own barbecue — most have one, usually near a vent. Brush and oil the grate while it is hot, because food sticks to a cold, dirty grate far more than to a hot, clean one. Keep a spray bottle of water nearby for flare-ups, and never douse a flare with a squirt of lighter fluid. Clean out the ash once the barbecue is completely cold; it blocks airflow and makes temperature control harder next time.
Above all, think about the food rather than the method. Thin things want fierce, direct heat. Thick things want patience and an indirect cook. And most of the best barbecue sits somewhere in between, moving from one side of the grate to the other until it is exactly right.
Photo: hulkiokantabak / Pixabay
Related posts
More stories you’ll love reading